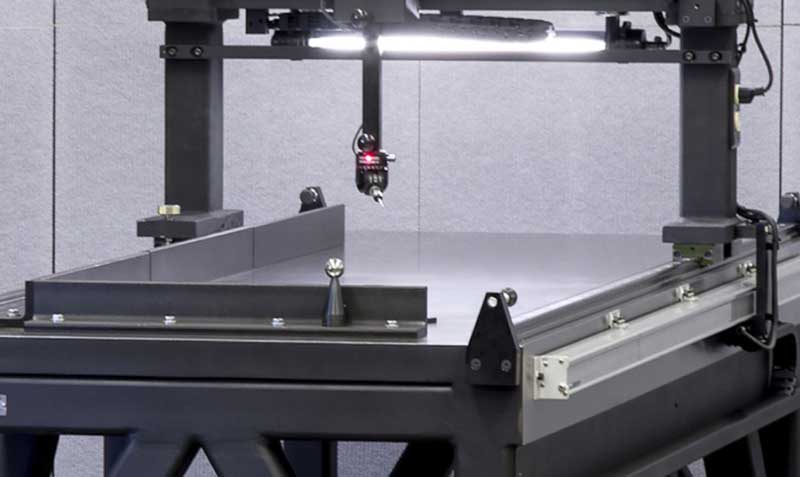

Left: Single axis table, Right: Three axis table
Exact Metrology sells Raytech Measuring Systems. These are shop-floor dimensional measuring machines like the single axis and the three axis table for industrial manufacturers. The company offers machines for measuring parts for cutting, bending, punching, waterjet cutting, laser cutting, drilling and tapping. Custom machines are also available.
The single axis table is ideal for checking flat sheets with straight edges and square corners. It features reduced setup time for production machines, reduced scrap rates and reduced backlog of parts for inspection. In addition, it integrates with SPC software for quality tracking and reporting, reduces operator-to-operator variation, offers long-term durability and simple operation. Squareness gage allows users to check sheets for perpendicularity of the edges or check edge camber, while diagonal blocks allow the user to check corner to corner squareness on sheets. All single axis tables come standard with interchangeable probe tips. Heidenhain readouts and scales used on the single axis tables are designed for use on machine tools and are well suited for use on shop floor gage. The edge lift gage allows users to edge waves in sheets.
When parts are more intricate or bulkier than flat sheets, then the three axis table is recommended. It is suitable for checking laser and waterjet cut parts, sheet metal parts with many features and parts that are bent and formed. The three axis table includes flexible metrology software, sealed Heidenhain encoders, low-maintenance linear bearings and a versatile Renishaw touch probe. Furthermore, it has the ability to integrate with SPC software for quality tracking and reporting and reduces operator error. As with the single axis table, it offers long-term durability and simple operation. Features include a Renishaw indexing probe for flexible probing and reduced operator-to-operator inconsistency. It also includes a standard readout system with a simple yet durable color touch screen, serial output for SPC, multiple points of error correction and multiple point feature measurements. The PC-based system allows for the full capability plus additional reporting capabilities, as well as greater program storage capacity.


