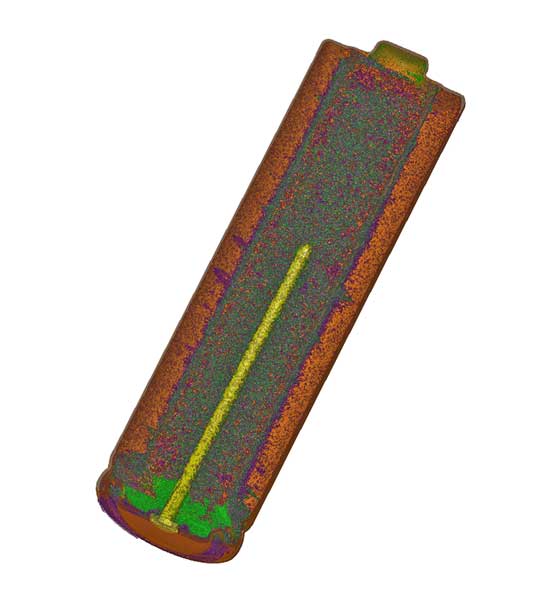
Exact Metrology: A Division of In-Place Machining Company and a comprehensive 3D metrology service provider and hardware sales company, recently used CT technology for an interesting project. The goal was to obtain an inside look at an AA battery.

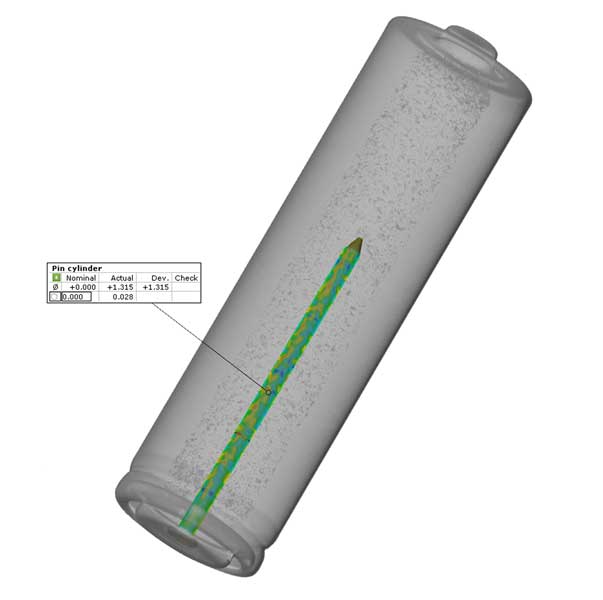
AA battery color map inspection
The ZEISS METROTOM 6 scout, formally known as a GOM CT, was used. Considered the powerhouse of resolution for CT and inspection and metrology, the METROTOM 6 scout digitizes complex parts including the internal geometries at the finest level of detail. Users obtain a complete 3D image for GD&T analysis or nominal-actual comparisons. The metrology CT excels in digitizing small plastic parts. Furthermore, the combination of a 3k detector and 225 kV X-ray enables ZEISS METROTOM 6 scout to provide high contrast, high-resolution measurement results and exceptional sharpness of detail.

Hayden Lee
Using CT technology, Hayden Lee, Exact Metrology Applications Engineer, separated the battery into several 3D elements. Thus, he was able to obtain several different types of measurements in different portions of the battery and also extract several battery elements such as: pin, separator wall and case. A color map using GOM Inspect was also created of the pin cylinder inside the battery. The software analyzes 3D measuring data from fringe projections or laser scanners, CMMs and other measuring systems. The GOM software is used in product development, quality control and production. Obviously, it’s very dangerous to cut apart a battery or destroy it. According to Hayden, “CT scanning allows you to internally inspect something, even an alkaline battery, without having to destroy it.” This of course allows for better safety and precision. Additional benefits of CT include very little time to capture data and troubleshoot parts and multiple uses with one scan. In contrast to conventional tactile coordinate measurement techniques, a CT acquires all surface points simultaneously —on even the most complex objects.


