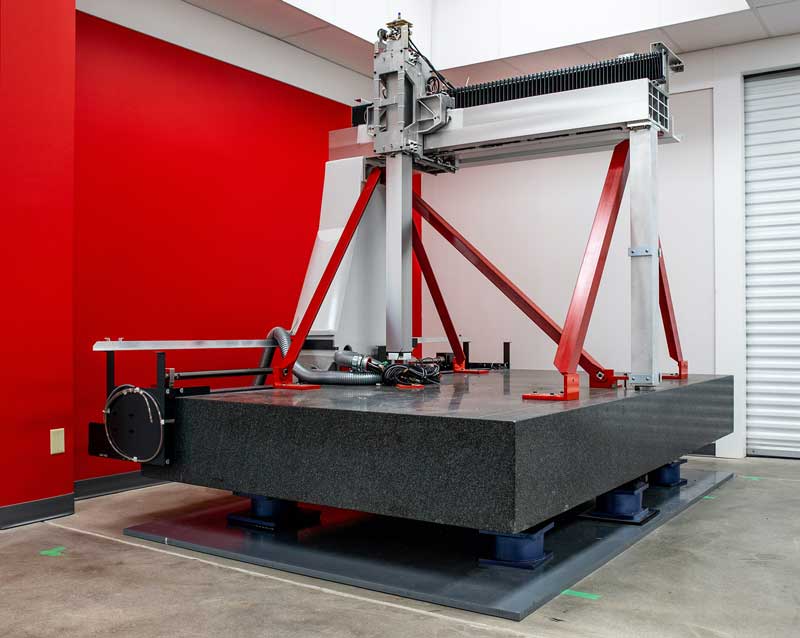
Exact Metrology, a comprehensive 3D metrology service provider and hardware sales company, is excited to announce that a large scale Coordinate Measuring Machine (CMM) has been installed at their office location in Moline, Illinois.
This machine is a high-accuracy CNC coordinate measuring machine that guarantees a maximum permissible error of E0, MPE = (2.5+3L/1000)μm. With this machine, measurement uncertainty remains within one-fifth of the dimension tolerance up to 30.2″ (766mm). The higher accuracy specification therefore gives it more than double the effective measuring range in terms of accuracy-guarantee capability.

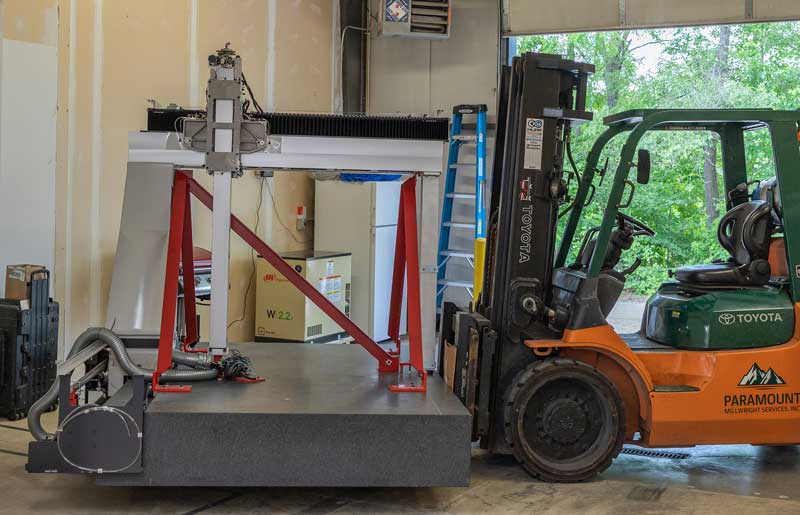
Arrival of the new CMM in Moline
In addition, the room the machine sits in is temperature controlled. From sensors installed on each axis scale and working in conjunction with sensors placed on the workpiece, temperatures are obtained before outputting the measurement result to the controller. The combined axis scale/workpiece temperature compensation design used gives superior results compared to systems with sensors only on the axis scales.
This CMM offers a maximum drive speed of 693 mm/s and a maximum drive acceleration of 1,732 mm/s2 resulting in an increase of drive distance in one second. Combining high speed and high acceleration, this machine reduces measuring time. As the number of measuring points increases, measuring costs per point are reduced.

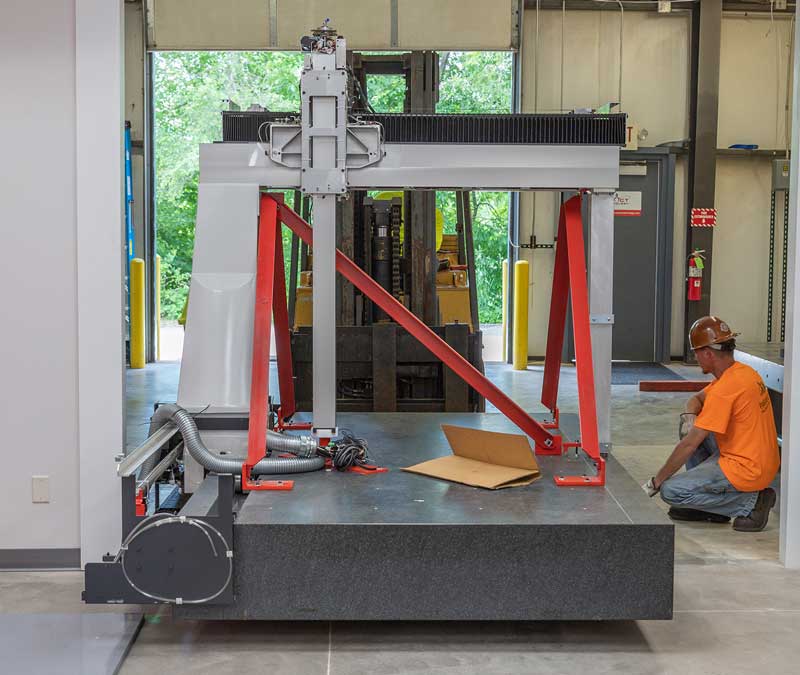
Installing the CMM
It will be used by Exact Metrology for precision machined parts and has a measuring volume of 47 inches by 78 inches. Components, parts and finished durable products that are designed to maintain extreme tight tolerance margins, as well as a high degree of durability are essential and common drivers for the use of precision machining. Precision machined parts typically have intricate features and need precise specifications and measurements. Additionally, many of these parts have holes, grooves, tapers, and/or textures that require an exact fit into other components. Precision machining is used in numerous applications such as: aerospace, medical device components, electronics, oil and gas, etc. CMMs don’t need the “old school” method of calipers, measuring tapes, and/or rulers.
Commenting on this new arrival, Exact Metrology co-President, Dean Solberg, said, “We’re very happy to install this machine and we’ve even heightened our ceilings and reinforced our floors to make sure it fits inside our facility. We look forward to using this CMM to further our customer service reach.”


