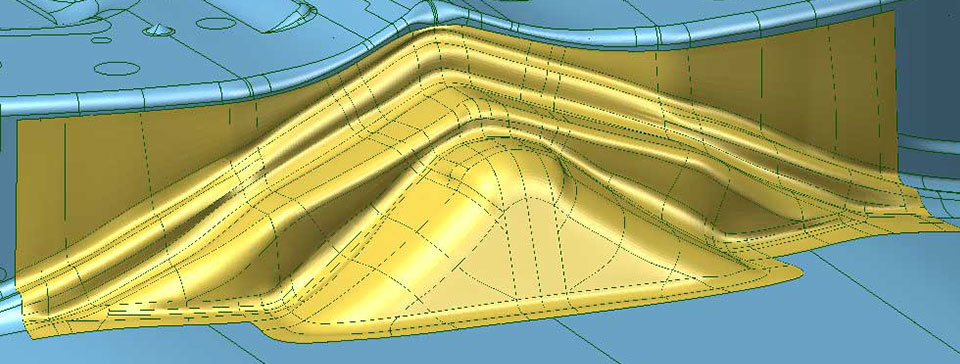
Reverse engineering is the duplication of an item based on an examination of its components and construction. The primary purpose behind reverse engineering is discovering how an object or system works, particularly when that object’s instructions or manuals are no longer available or were never originally created. This discovery is used in turn to replicate the object down to its internal functioning.
Reverse Engineering in Different Industries
While reverse engineering can be used solely for the purpose of design duplication, it is also used for a variety of other engineering functions across different industries. In product design and manufacturing, reverse engineering can be used for documenting legacy parts (parts that are no longer manufactured) and re-manufacturing those parts for repairs within larger systems. This process can also help with archival documentation and product benchmarking, which is the comparison of a product’s performance and functionality against other similar products. And, of course, reverse engineering can significantly contribute to a product redesign by helping the engineers to first better understand the minutiae of the initial design and construction.
In terms of facilities maintenance and plant engineering, reverse engineering can assist with equipment placement and installation, as well as archival documentation of systems and products, used when prior documentation does not exist or is limited. Additionally, in the architectural and civil engineering fields, documentation of defects and deterioration can be supported by reverse engineering endeavors. In other words, reverse engineering objects and systems can help us to better understand them before proceeding with redesigns or replication of current processes.
And, finally, in custom manufacturing, reverse engineering is a key component in understanding and replicating custom-fit products and medical devices. As Exact Metrology’s Brookfield location manager Greg Groth explains about the value of reverse engineering for a variety of industries, “One common reason [for reverse engineering] is salvaging legacy components that were never digitally captured. Imagine a 75-year-old car part that may be of only few in existence. Those were never pushed through a CAD package, or maybe even never captured through drawings.” Reverse engineering offers a means of documenting the previously undocumented and of capturing the mechanical functions of an object that may otherwise deteriorate before fully understood.
How Exact Metrology Approaches Reverse Engineering
At Exact Metrology, for our reverse engineering endeavors, we use different metrology equipment and hardware, including 3D scanners that can capture external and internal data from an object. In addition to our equipment and hardware, our team has many years of combined experience in 3D reverse engineering services.
The hardware used for these services also includes laser line scanners, white and blue light scanners and CT scanners. Last line scanners are generally used for a quick but accurate collection of data from an object, while white and blue light scanners are employed for more detailed work. And the CT scanners are brought in for a non-destructive approach to interior data collection. Once one or a combination of these devices is used, we choose from the most appropriate 3D software platform that best suits our customers’ purposes and intentions for the end product. Keep reading for more on our reverse engineering process.
Exact Metrology’s Reverse Engineering Process:
First, we determine the intended use of the image to be produced. Finding out what the customer intends to use the image for helps to save us time and go down any unnecessary rabbit holes. For example, we can avoid scanning anything but the parts of the item that are actually needed. This adjustment can make a world of difference when it comes to components housed within much larger systems.
After determining intention, we move into the acquisition stage, which is when the actual scanning and capturing of the object occurs. We use our state-of-the-art 3D scanners to capture a highly detailed image of the item. This stage includes the capturing of the item’s internal data. Our 3D X-ray machines are able to capture data from even the densest materials, like steel. It is important to avoid shortcuts during the process in order to collect the most accurate and complete information.
Once we have acquired the details and data from the item, we begin processing that data into a comprehensive 3D point cloud. This is where the XYZ D data points are converted into a polygon model and the imagining software connects those points to create a representative skin.
Read More About Reverse Engineering
Exact Metrology knows a thing or two about reverse engineering and has extensive experience with 3D scanners and renderings that can benefit a variety of industries. Learn more about reverse engineering by checking out the recent article in Industrial Machinery Digest that featured our Manager Greg Groth from the Exact Metrology location in Brookfield. Be sure to flip to page 14 for Groth’s “Talking Shop” feature where he explains the principles and special considerations that go into every reverse engineering project.


