reverse engineering SERVICES
3D Scanning Services
3D SCANNING SERVICES
REVERSE ENGINEERING SERVICES
Reverse Engineering of Objects & Systems
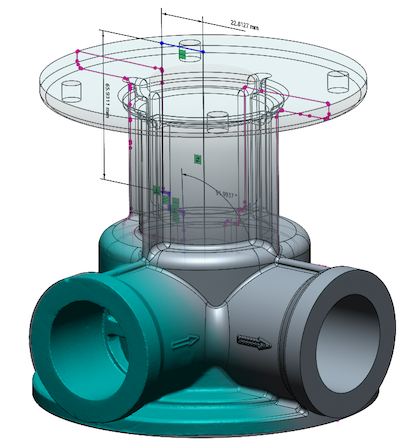
Reverse Engineering requires extracting design or as-built information from a part or assembly of parts in order to duplicate or enhance them. While reverse engineering is known for its use in product design, it can also be used to address many other engineering functions such as custom manufacturing, facilities/plant engineering, architectural, and civil engineering. Duplicating an item based on an examination of its components and construction allows our metrologists to discover how an object or system works, particularly when that object’s instructions or manuals are no longer available or were never originally created. This discovery is used in turn to replicate the object down to its internal functioning.
Benefits of Reverse Engineering Services
Benefits of Reverse Engineering Services
Additional Reverse Engineering Applications
Additional Reverse Engineering Applications
Product Design & Custom Manufacturing
Facilities Maintenance & Plant Engineering
Architectural & Civil
Engineering
Architectural & Civil Engineering
Versatile Data Collection
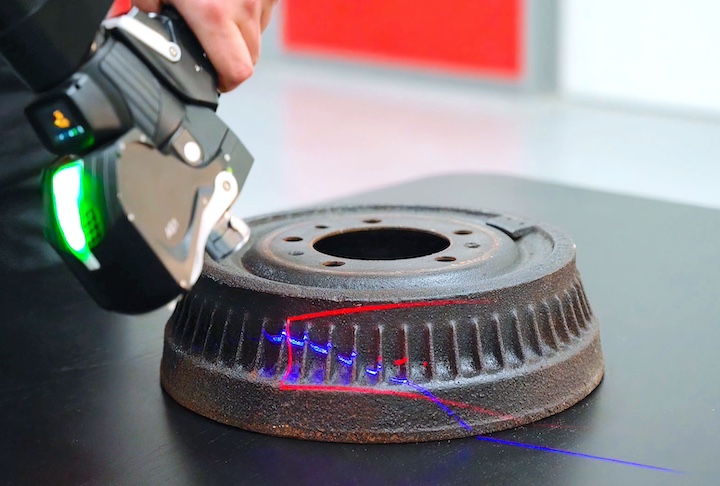
To begin the reverse engineering process, our metrologists capture all interior/exterior measurements of an object and/or part. The hardware used for this includes: laser line scanners, white/blue light scanners, and CT scanners. Line scanners are generally used for a quick but accurate collection of data from an object, while white and blue light scanners are employed for more detailed work. The CT scanners are brought in for a non-destructive approach to interior data collection.
Example Reverse Engineering Outputs
Example Reverse Engineering Outputs
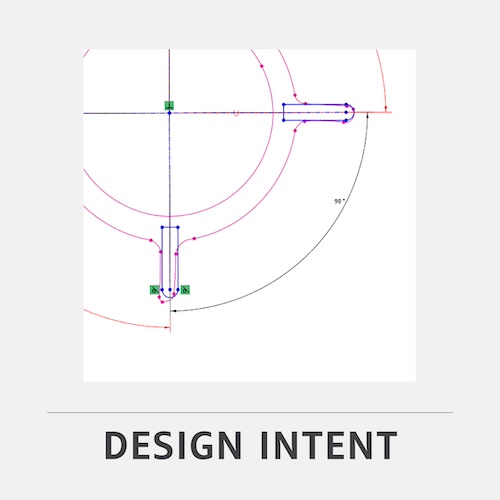
The process of taking a manufactured part with inherent process errors and making a 3D model that is true (square, round, parallel, perpendicular, etc.).
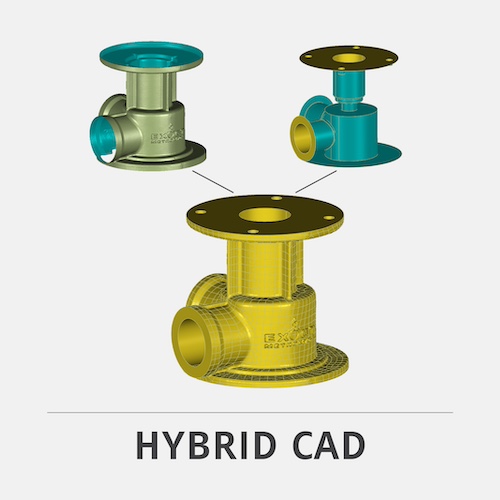
Defining an object’s 3D geometry with solid modeling. To achieve this, CAD is used to recreate prismatic features.
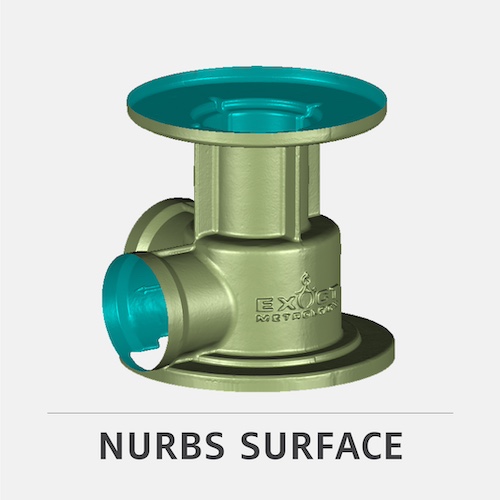
Used to define a 3D point cloud of mesh and defines all open surfaces, showing visibility to imperfections captured.


